Patient Knowledge
Center

Learn About
Orthosnap

Orthosnap’s High Precision Clear Aligners are unlike any other clear aligner solution on the market. Why choose Orthosnap? There are several key features that differentiate our aligners from others.

Precision Built:

Most companies make aligners using low-quality 3D printed models which introduce inaccuracies that compromise quality. At Orthosnap, we make our aligners on a high-precision model that’s accurate to 2 microns. That’s over 50x more precise which has a massive impact on the efficiency of tooth movement. It also uses much less plastic which is better for the planet.

Dental Monitoring® Included:

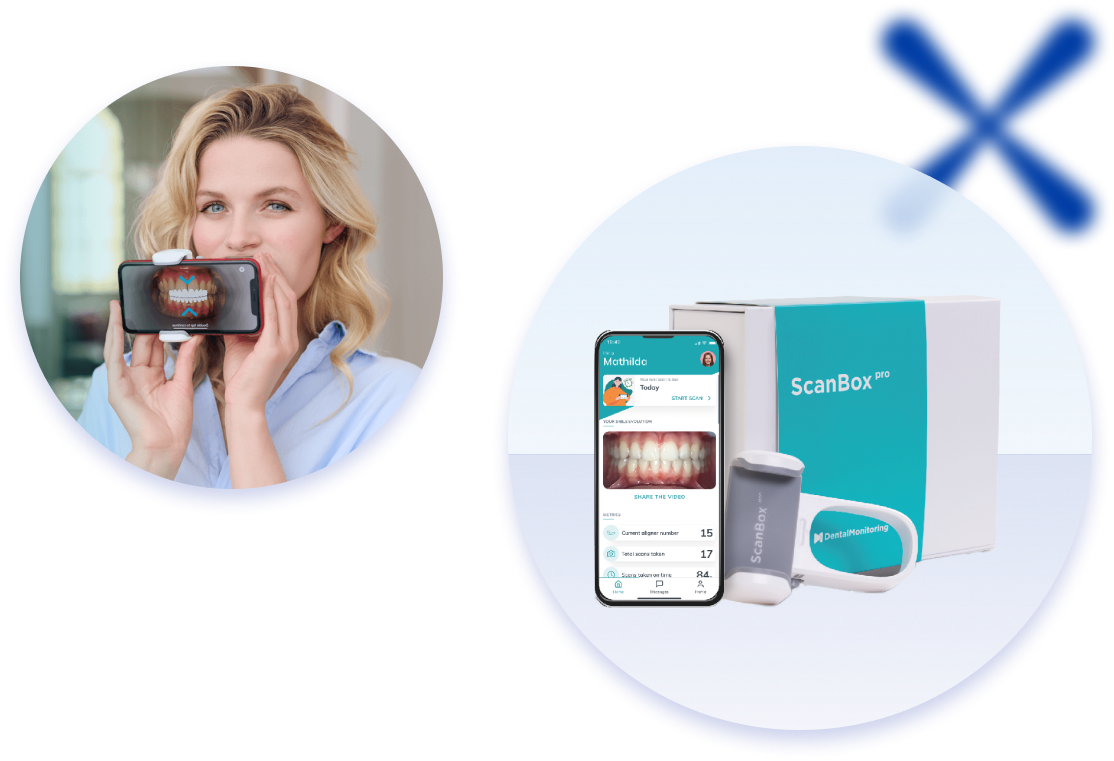
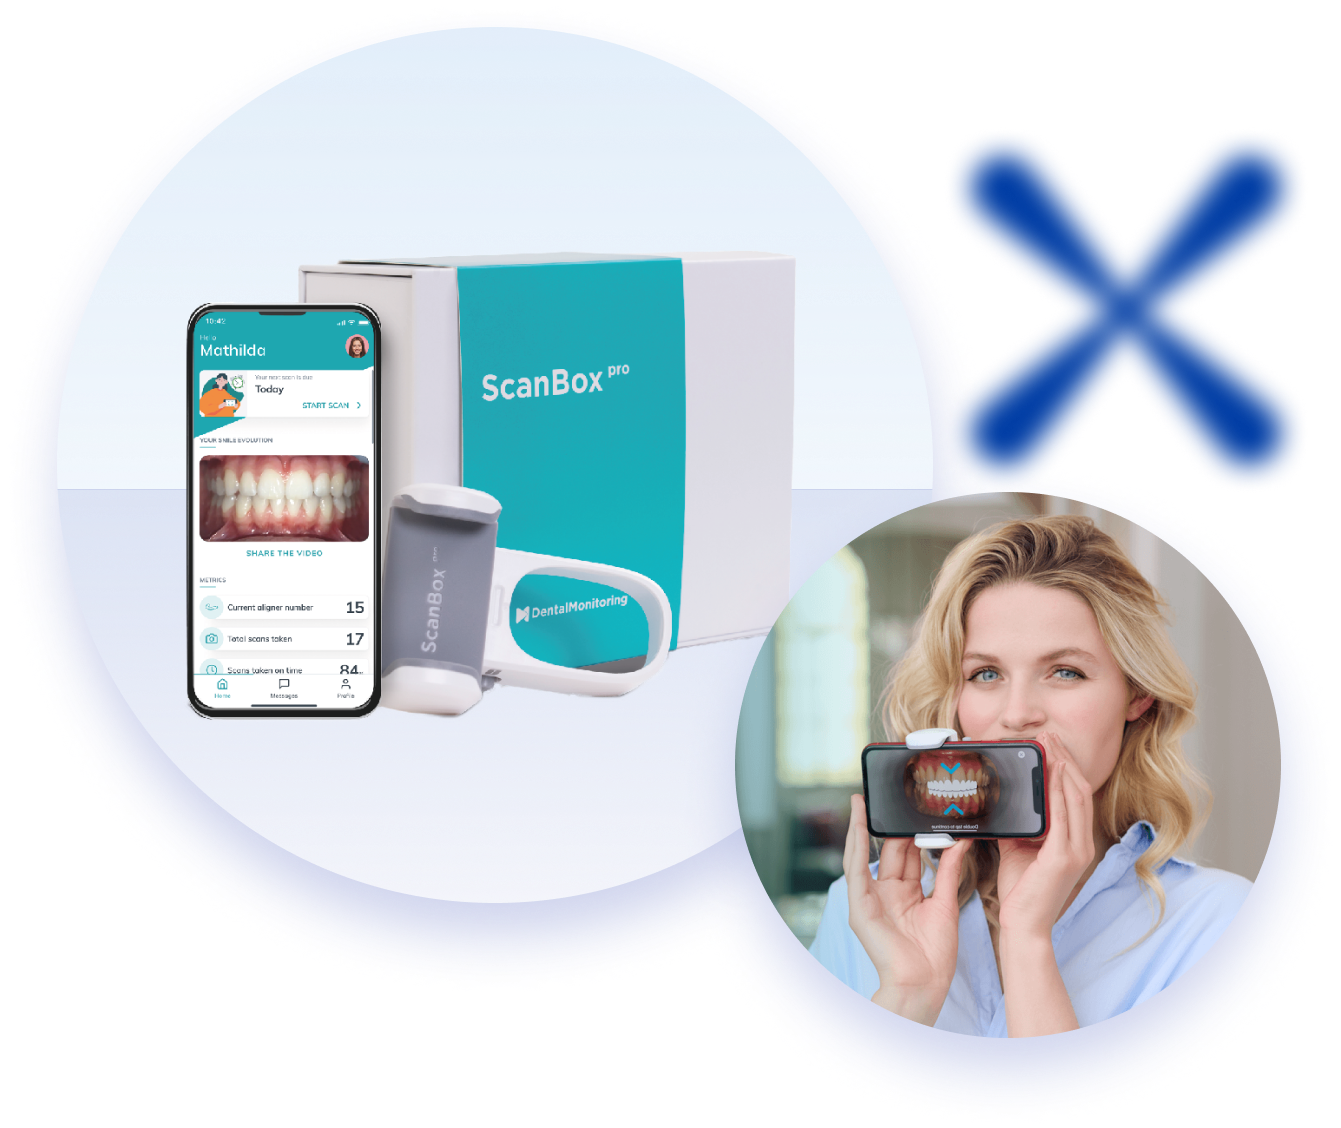
Orthosnap offers the Dental Monitoring® app and scanbox with every case to monitor your progress weekly and guide you through the process. Your provider will receive weekly scans and advise you when to move on to the next step for optimal orthodontic progress. They can also identify issues and intervene instead of waiting weeks until your next visit.

Orthodontic Oversight:

Orthosnap partners with your dental provider to monitor the case for optimal efficiency. You want to straighten your teeth professionally and finish as soon as possible. That’s why our team of engineers and Orthodontists get involved in each and every case to collaborate with your dental provider for optimal results.

Mid-Course Corrections

Nearly all patients undergoing orthodontic treatment will notice that some teeth will not move as planned. Most clear aligner brands address this issue with extra aligners at the end of the original treatment plan, which can add many months to finish your care. With Orthosnap, we instead track your progress weekly and adjust the treatment plan mid-course to minimize this issue and finish your treatment on time.

Crystal Clear Quality:

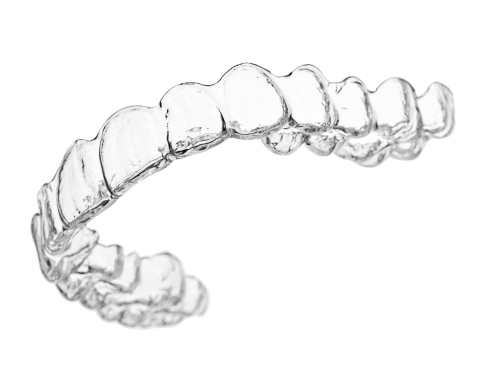
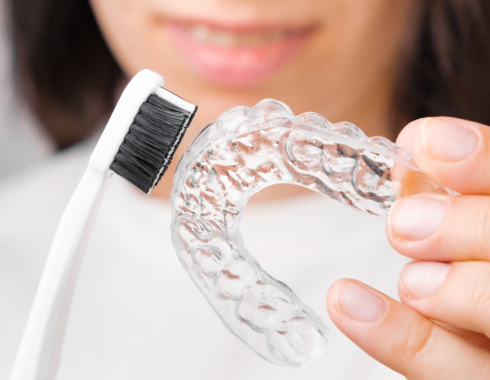
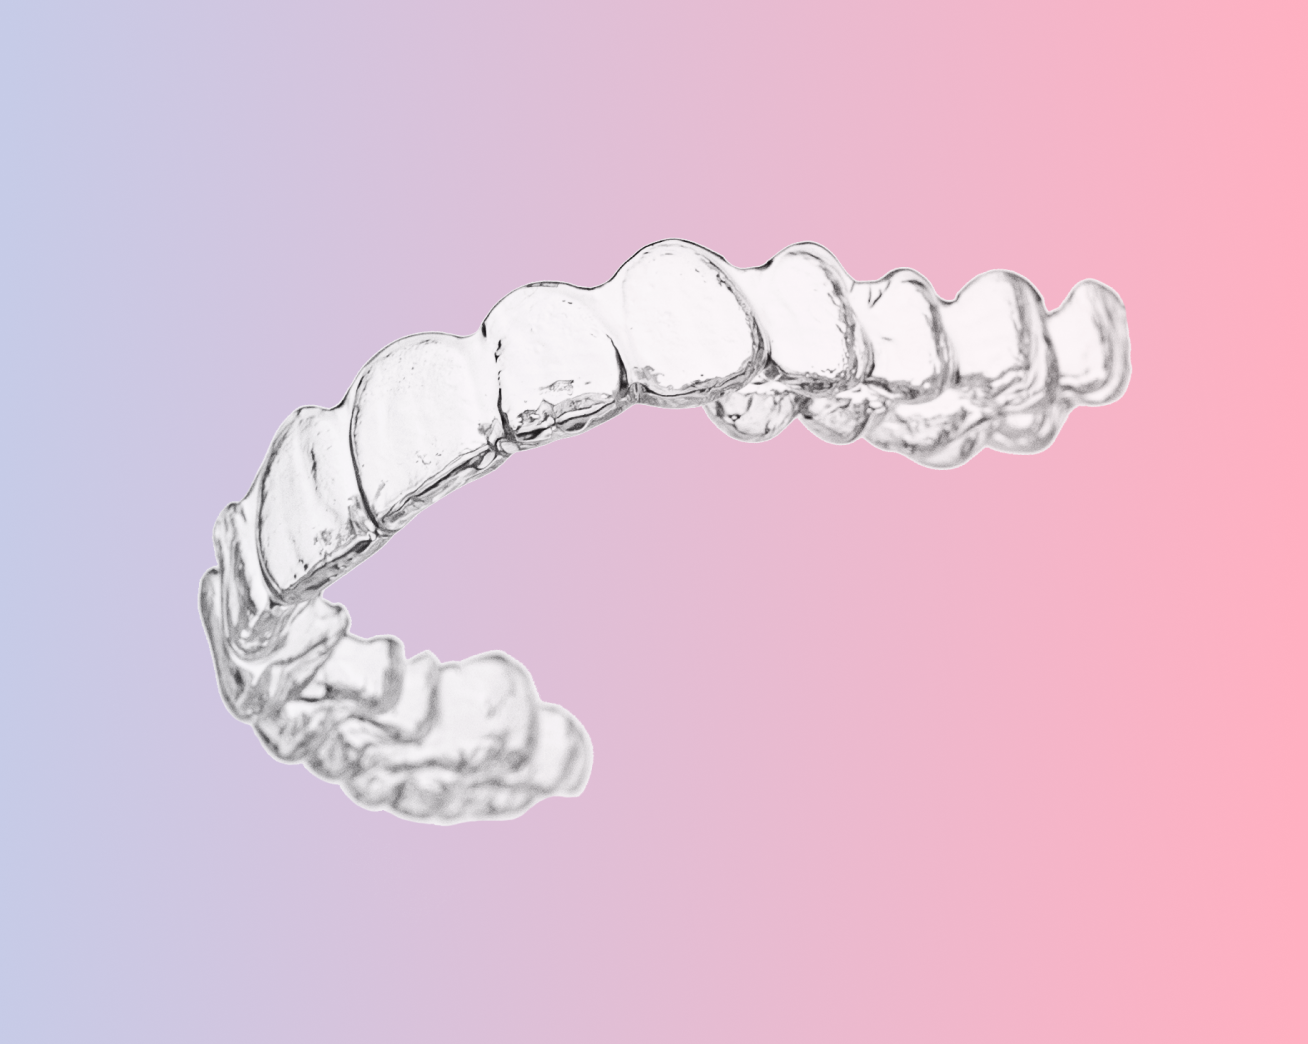
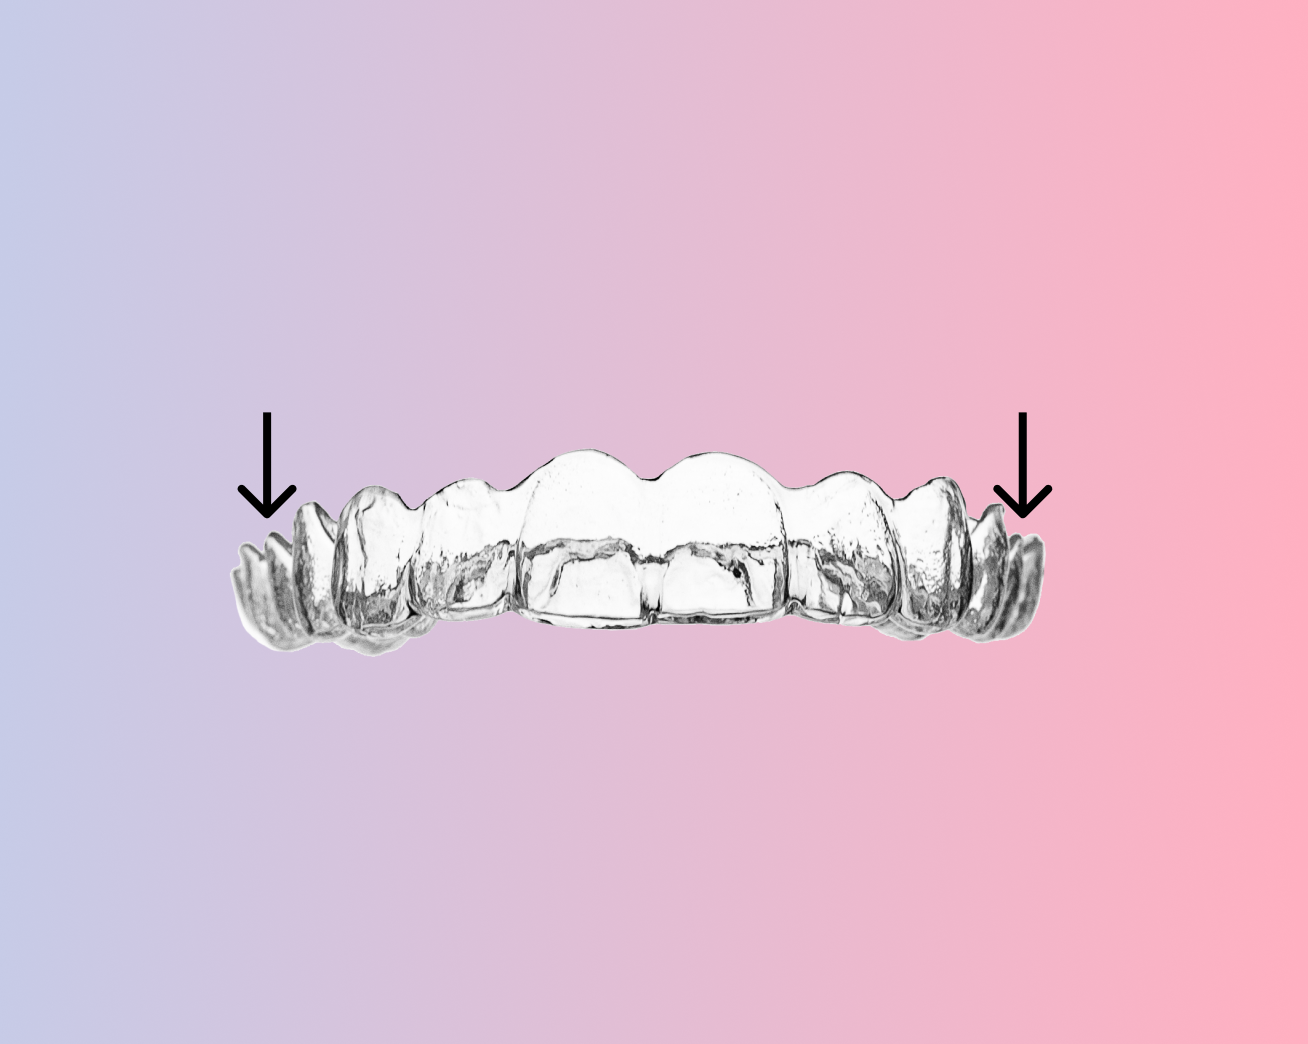
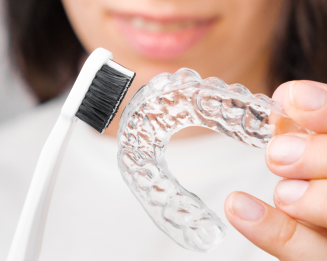
Compared to other clear aligner brands which have striations on the aligners visible to the human eye, Orthosnap aligners are crystal clear. This visible feature indicates the extreme level of precision on every clear aligner we make.

Aligner Care Instructions

Image of a clear aligner with a white background
Inserting Your Clear Aligners:
  • Use your fingers to put your aligners place.
  • Be careful not use your teeth to bite your aligners into place.
  • First place the aligners over your front teeth, and then use your fingers to push the aligner down gently over your molars FRONT TO BACK.
  • Start wearing each new set of aligners at night (do not take them out for the first 8 – 12 hours).
  • When the aligners are correctly inserted, they will fit all the way down on the teeth, with no space between the top of the aligners and the top of the teeth.
  • Aligners will fit tightly at first but should fit well at the end of the period.
  • You can also use a “chewie” to seat an aligner that doesn’t seat completely at first.
A photo of the clear aligner.
Removing Your Aligners:
  • Keep your aligners in except when flossing, brushing, and eating.
  • It’s also best to remove the aligners when drinking warm beverages such as coffee or tea.
  • Remove the aligner by pulling it off both sides of your back teeth simultaneously then lifting it off of your front teeth. BACK TO FRONT.
  • Place your aligners in the case we provided any time they are not being worn.
A photo of a dentist talking with a patient.
Wearing Your Aligners:
  • Wear aligners in the correct numerical order (Each aligner bag is labeled).
  • Your dentist or orthodontist will tell you when to switch each set of aligners based on evaluation of the weekly scans you’re taking with Dental Monitoring®.
  • It is important to avoid leaving aligners out of the mouth for longer than 30 minutes especially during the first 3 days of each new aligner
  • Keep all of your old aligners and bring them to your orthodontic appointments.
  • If you lose an aligner, notify the dental practice immediately. They will advise you whether to jump ahead to the next aligner.
  • If travelling always bring 2 extra aligners with you, just in case.
A photo of a glass with a tooth brash and a floss on a pink background.
Caring for your Aligners:
  • Wash your hands with soap and water before handling your aligners.
  • Rinse your aligners when removing them from the packaging.
  • Don’t place your aligners in or on a napkin or tissue. Many aligners have accidentally been thrown out this way.
  • If you smoke, do not to smoke while wearing your aligners. The smoke can stain the aligners as well as your teeth.
  • If you have attachments, inspect your attachments daily (if one is missing, contact your dental provider to have it replaced)
  • If you have pets, don’t place your aligners anywhere that your pets can reach them.
A image of an apple an a model of a jaw.
Food and Drinks:
  • Always store your aligners in the case provided when eating or brushing.
  • Don’t chew gum with your aligners in.
  • Aligners should be removed to eat anything.
  • Aligners should be removed for drinking anything except cool water.
A photo wit a woman that is cleaning an aligner with a tooth brash.
Hygiene:
  • Clean aligners with a non-abrasive toothpaste and soft bristle brush.
  • Do not use Denture cleaner, alcohol, or bleach to clean your aligners.
  • Do not use boiling water or warm water on your aligners.

Aligner Care Instructions

Inserting Your Clear Aligners:
A photo with an aligner.
  • First place the aligners over your front teeth, and then use your fingers to push the aligner down gently over your molars. FRONT TO BACK.
  • Start wearing each new set of aligners at night (do not take them out for the first 8 – 12 hours)
  • When the aligners are correctly inserted, they will fit all the way down on the teeth, with no space between the top of the aligners and the top of the teeth.
  • Aligners will fit tightly at first but should fit well at the end of the period.
  • You can also use a “chewie” to seat an aligner that doesn’t seat completely at first.
Removing Your Aligner:
A photo with a aligner.
  • Keep your aligners in except when flossing, brushing, and eating.
  • It’s also best to remove the aligners when drinking warm beverages such as coffee or tea.
  • Remove the aligner by pulling it off both sides of your back teeth simultaneously then lifting it off of your front teeth. BACK TO FRONT.
  • Place your aligners in the case we provided any time they are not being worn.
Wearing Your Aligners:
  • Wear aligners in the correct numerical order (Each aligner bag is labeled).
  • Your dentist or orthodontist will tell you when to switch each set of aligners based on evaluation of the weekly scans you’re taking with Dental Monitoring®.
  • It is important to avoid leaving aligners out of the mouth for longer than 30 minutes especially during the first 3 days of each new aligner
  • Keep all of your old aligners and bring them to your orthodontic appointments.
  • If you lose an aligner, notify the dental practice immediately. They will advise you whether to jump ahead to the next aligner.
  • If travelling always bring 2 extra aligners with you, just in case.
Caring For Your Aligners:
  • Wash your hands with soap and water before handling your aligners.
  • Rinse your aligners when removing them from the packaging.
  • Don’t place your aligners in or on a napkin or tissue. Many aligners have accidentally been thrown out this way.
  • If you smoke, do not to smoke while wearing your aligners. The smoke can stain the aligners as well as your teeth.
  • If you have attachments, inspect your attachments daily (if one is missing, contact your dental provider to have it replaced)
  • If you have pets, don’t place your aligners anywhere that your pets can reach them.
Food And Drinks:
  • Always store your aligners in the case provided when eating or brushing.
  • Don’t chew gum with your aligners in.
  • Aligners should be removed to eat anything
  • Aligners should be removed for drinking anything except cool water
Hygiene:
  • Clean aligners with a non-abrasive toothpaste and soft bristle brush.
  • Do not use Denture cleaner, alcohol, or bleach to clean your aligners.
  • Do not use boiling water or warm water on your aligners.

Dental Monitoring® Instructions

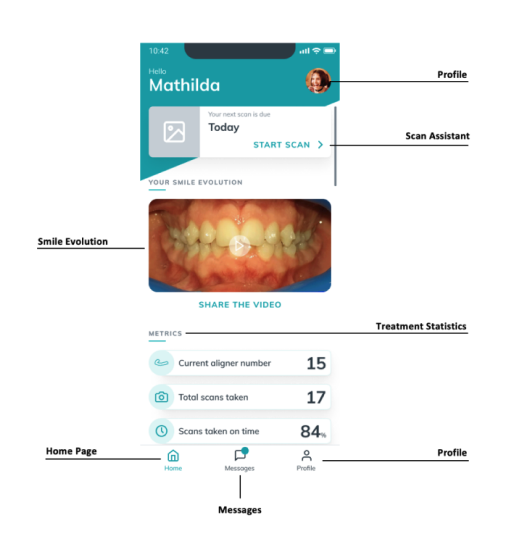
Dental Monitoring is an AI-powered remote monitoring app that helps improve the management of your orthodontic clear aligner treatment. The app and weekly scans facilitate communication between you and your dentist to track progress and Dental Monitoring is not intended to replace standard practices for diagnosis or treatment.

You will receive a notification from the DM App when it’s time to scan. Scans taken with the DM App are processed and trigger instructions based on the detected observations. Results are then sent to your dentist.

An image with a dental monitoring.
App Setup Instructions:
  1. In your email inbox, you will be sent an invitation to download the Dental Monitoring App. This invitation is sent either by Orthosnap or your dentist.
  2. Open the invitation email on your smartphone and follow the instructions. Click on iPhone or Android. You will be redirected to the AppStore to download the Dental Monitoring App.
  3. On the invitation email, click on the activation link. This link will open your DM App and log you in.
  4. When the DM App opens for the first time, you will be asked to allow the DM App to send you notifications. Access to notifications is mandatory to be informed when a Scan is due and when you receive an Instruction or direct message.
About the App:
  • The Home tab displays when you scan is due, your smile evolution, and stats regarding your treatment.
  • The Scan Assistant will guide you through the different steps to take a Scan. Get to this feature by clicking “Start Scan” from the home page.
Before You Scan:
  • Clean your hands and the Cheek Retractor Tube before each scan. As well as clean your smartphone regularly.
  • Take your scan in front of a mirror in a well-lit room with a clean surface.
  • The DM App will send you a push notification each time you are required to take a scan.
  • Initiating the scan process will automatically activate both your phone's sound and flashlight
Taking Your Scan:
  • From the Home tab, tap on ‘Start Scan’ to enter the Scan Assistant.
  • The app will prompt you with a few questions in a pre-scan checklist. Select ScanBox pro.
  • Set up your DM ScanBox following the video tutorial.
  • Confirm the aligner number you will be taking your scan with.
  • Click on ‘Start Scan’.
  • Follow the video and audio instructions. Looking at your phone's screen in a mirror while you take your Scan will enable you to see what your camera sees.
  • To start a step, double tap on your phone’s screen.
  • As you hear the sound of your camera, start moving your ScanBox following the speed of the gauge on your smartphone's screen. Moving too fast will cause a blur.
  • Your movement should be wide from ear-to-ear to ensure all your teeth are scanned.
  • If necessary; you can restart your scan by pressing the 'retry' button.
  • Remove the Check Retractor Tube and review the scan. If the pictures do not match the description provided in the app, you can select ‘Retake this step’.
  • If all steps are performed successfully, press ‘Send Scan’.